There are some things that you simply cannot travel without: recommendations for the best restaurant in town, tips on where to get the best cocktail, and the number one beauty essential: a perfect manicure.
You wouldn’t dream of taking a trip without packing your most important skincare and makeup items, and you shouldn’t leave the house without your manicure essentials either.
But let’s be clear: it all starts with a great manicure. Plan to get a professional manicure the day before you head to the airport. That’s an absolute non-negotiable because you want to let the pros do what they do best. Our biggest manicure tip comes once you’re on the road.
As in you’ll want to opt out of a gel and instead get a classic manicure, Bring your own polish (or buy it at hte salon) so that you then have a color you can take with your trip. We guarantee you’ll need to touch-up or a total refresh, espeicially if your travels last longer than a week.
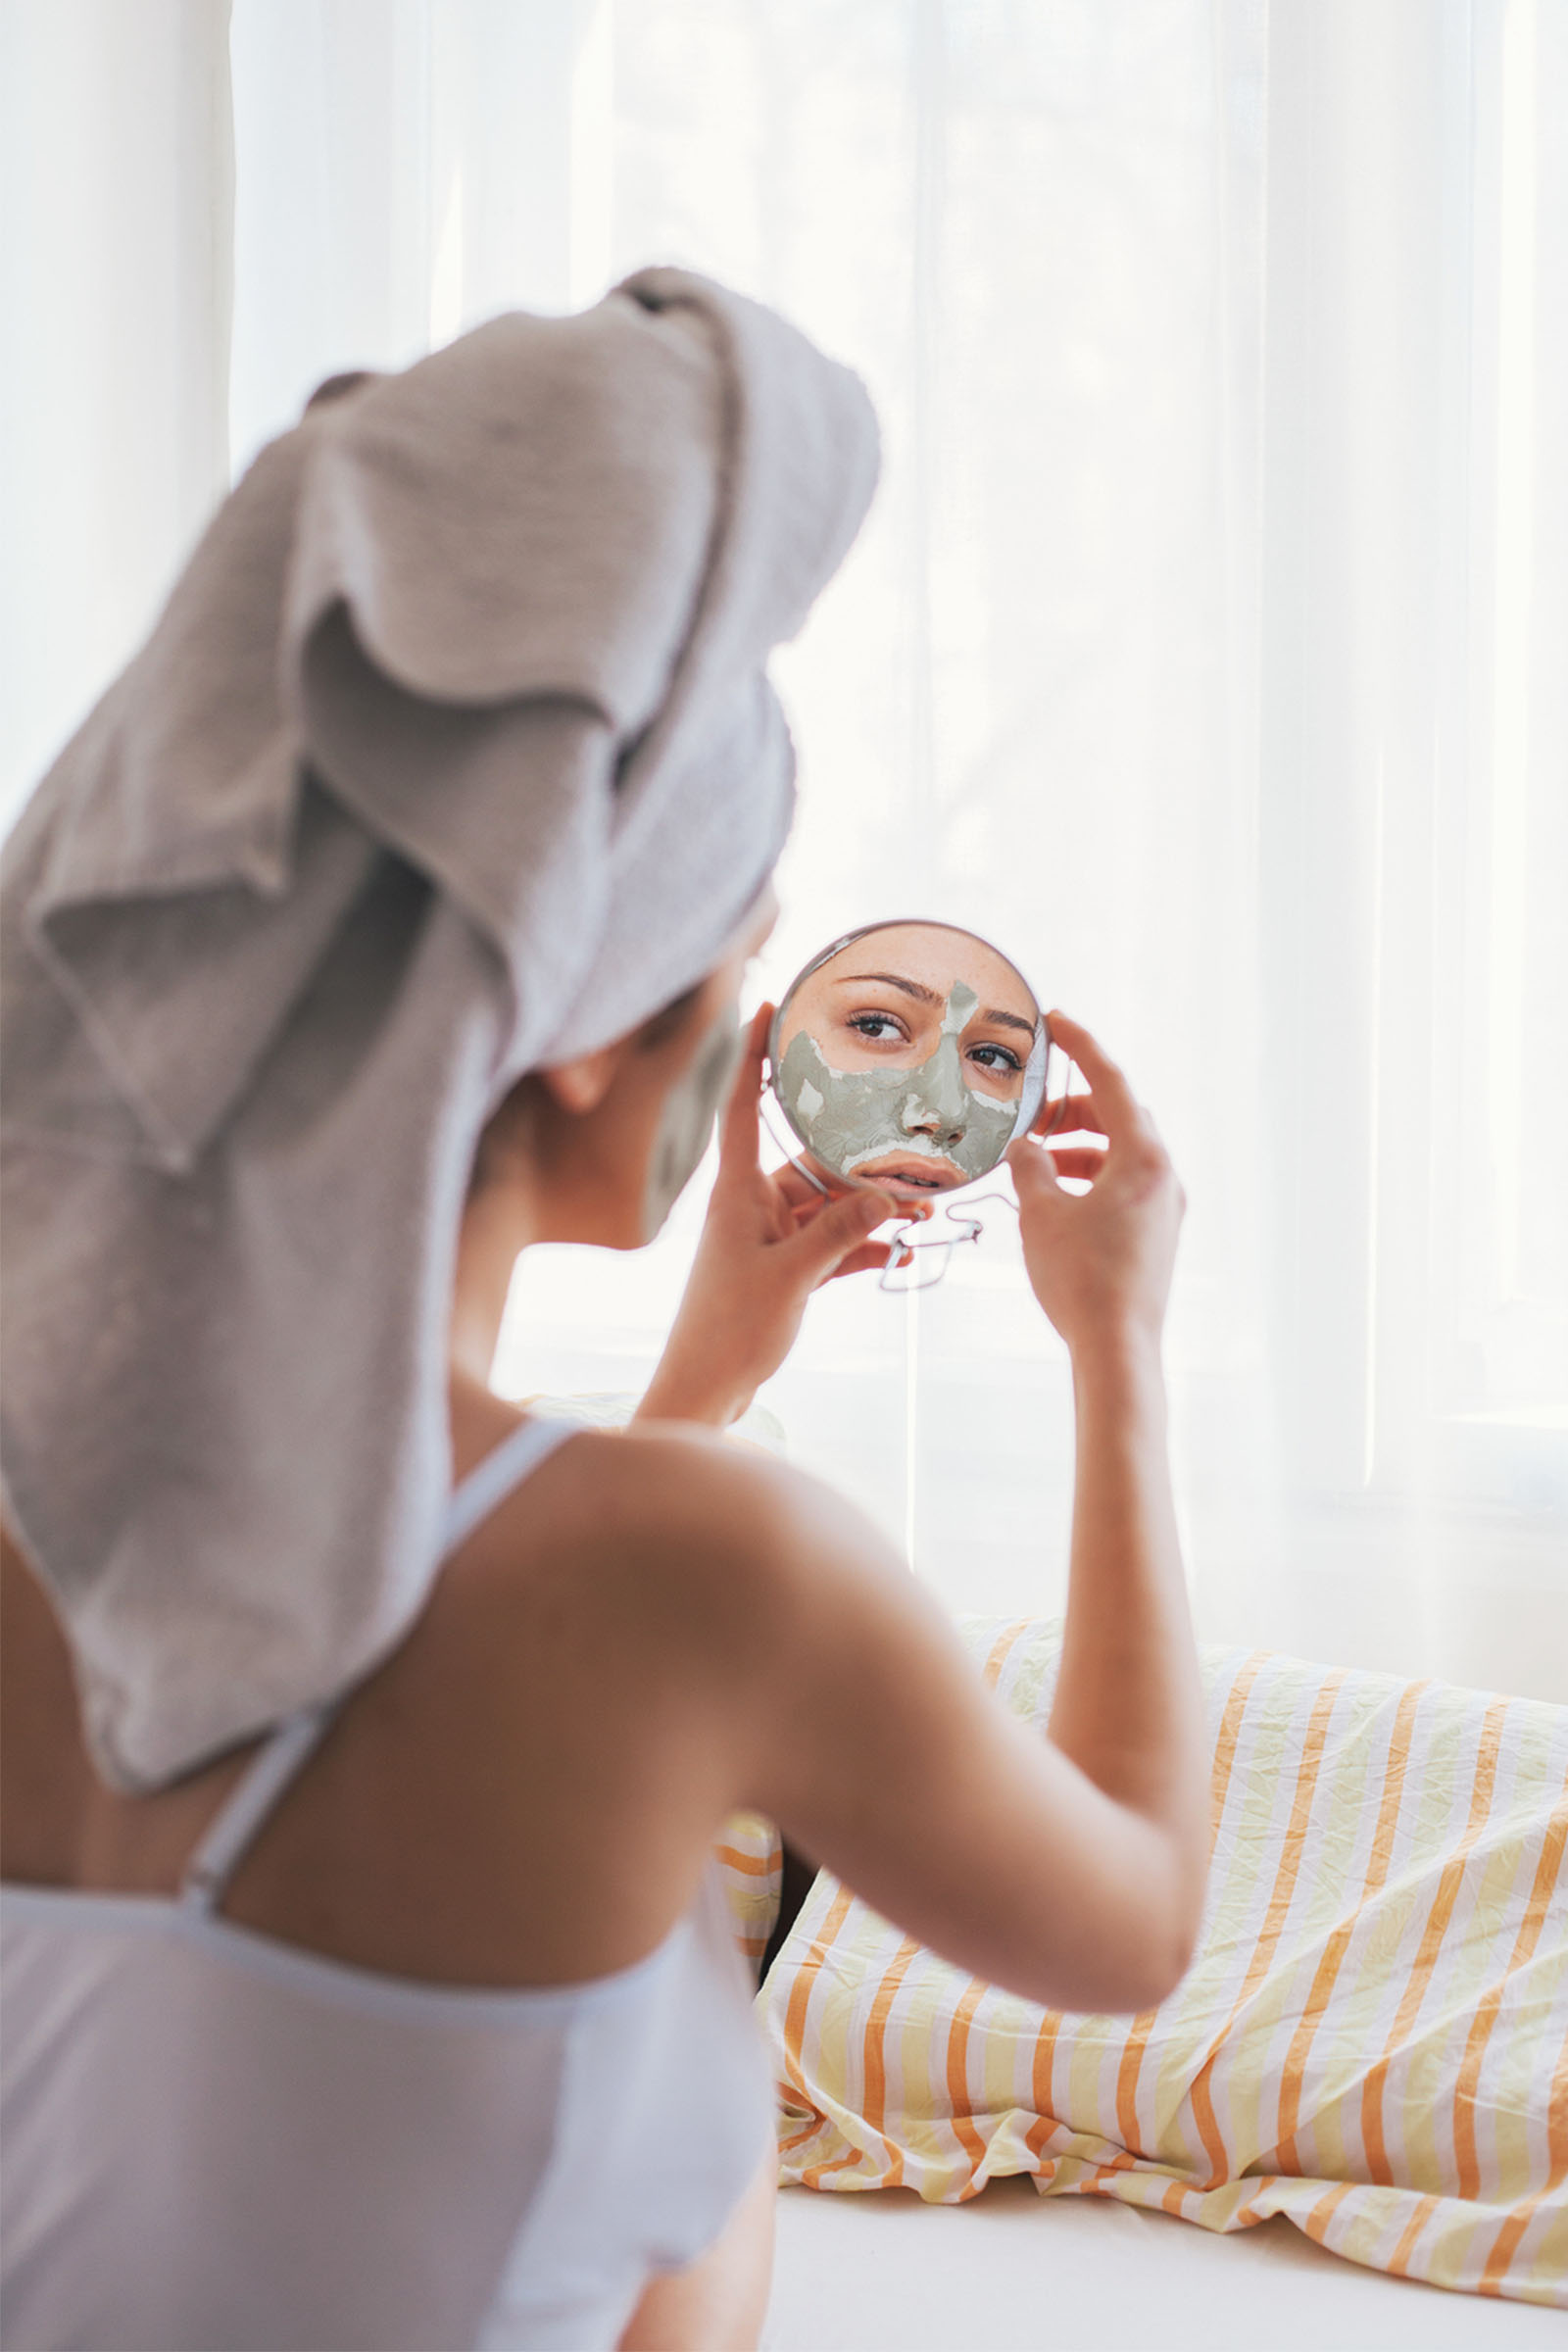
Opening Image By Brigitte Tohm
Day Two Top Coat
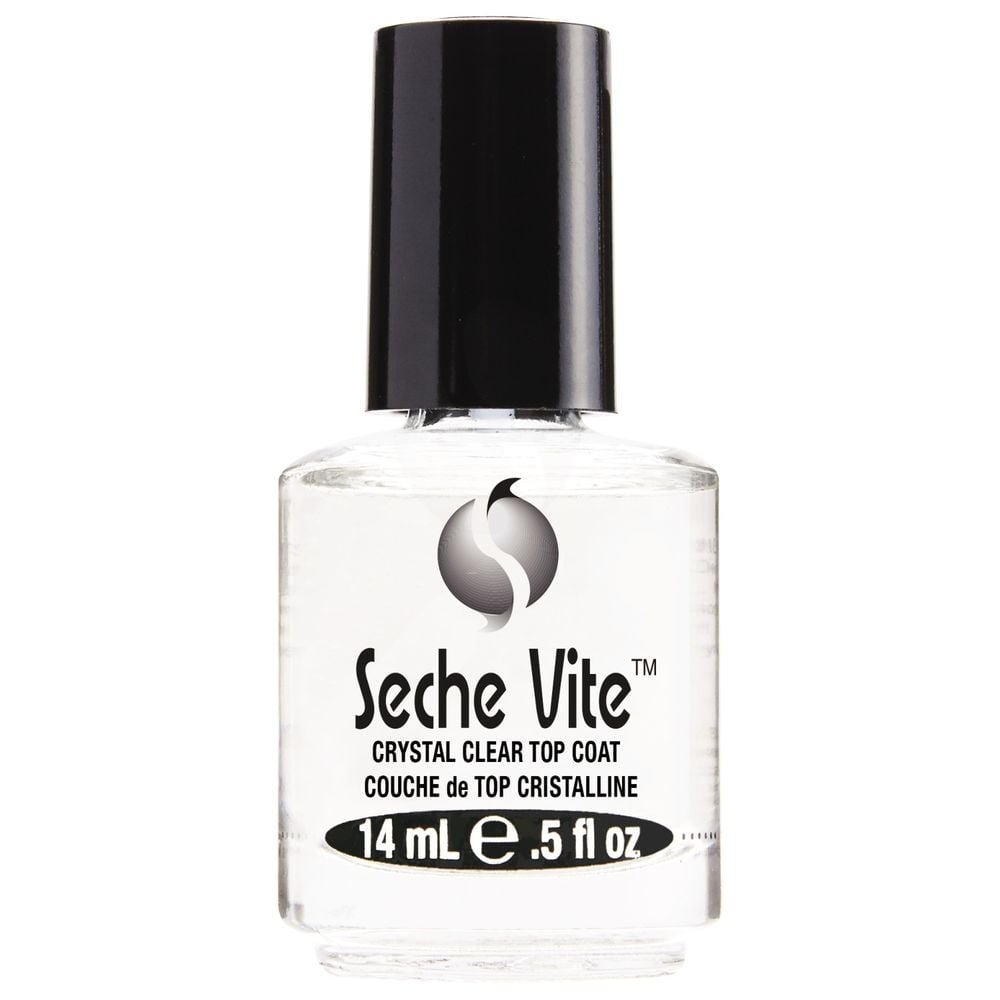
The day after your professional manicure, add a layer of top coat. We know, it seems fast but topping off your manicure this early on will help fend off chipping for as long as possible. We love Seche Vite, the world’s greatest fast drying top coat. It’s hard as nails (pun fully intended) and leaves a beautiful shine.
The Perfect Polish
If you have a minor chip, all you need is your polish of choice to cover the blemish and another layer of Seche Vite. But which polish should you choose? Trust us that not all nail varnish is created equal!
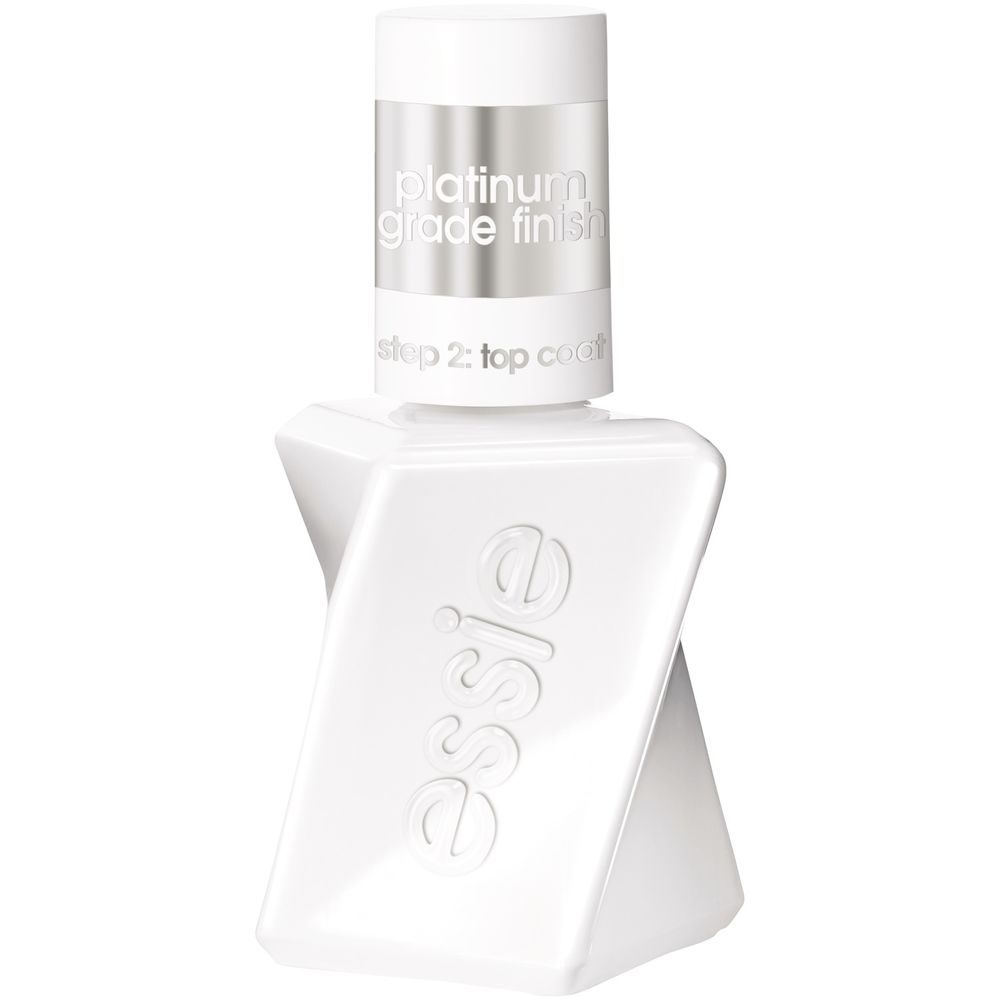
We’re the type of girls who don’t leave the house without polish but also don’t like the harsh effects of a gel mani. As such, we’ve tried just about every nail polish on the market. For a mani that lasts, we swear by our beauty essential, Essie Gel Couture polish and Essie Platinum Grade Finish top coat. This is what we bring to the salon the day before we board our flight and what we use for a quick DIY mani while travelling if that’s needed. The brush is super easy to use and lays the color down beautifully, and it’s got lasting power like no other polish on earth!
Refresh the Mani
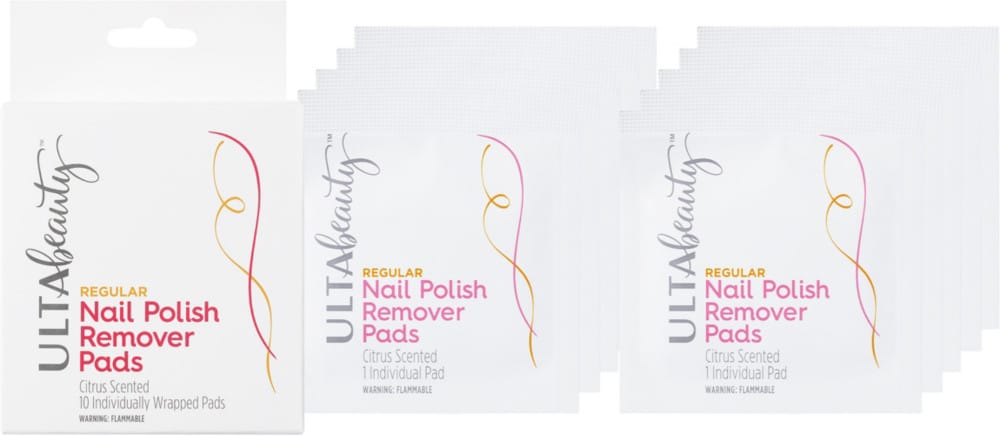
When your mani needs a full refresh (say by day 5), remove the polish with travel-friendly nail polish remover pads. — they’re effective and are the only practical way to carry nail polish remover with you while on the go.
Then add a good base coat before your color unless you’re using the Essie Gel Couture polish, which needs no base — just another reason we love it while traveling!
Now for the key — let your polish dry a few minutes between coats in order to have the best-looking and longest-lasting mani! We allow the color to dry for at least two minutes before applying the second coat. After another two minutes, add your top coat. Remember to add a second top coat the following day and viola!
Psst, this same technique is a good way to refresh even when you’re at home.
Connect With Salt & Wind Travel
- Explore The Salt & Wind Travel Services
- Join Our Virtual Cooking Club
- Shop Our Store For Cooking And Travel Inspo
- Have Us Craft You A Custom Travel Itinerary
- Download Our Digital Travel Guides For Food Lovers
- Sign Up For Our Newsletter
More On Salt & Wind Travel
- 10 Must Pack Masks For Your Next Trip
- Tips to Make Your Next Airport Trip Less Stressful
- 15 Recipes To Keep Houseguests Well Fed
