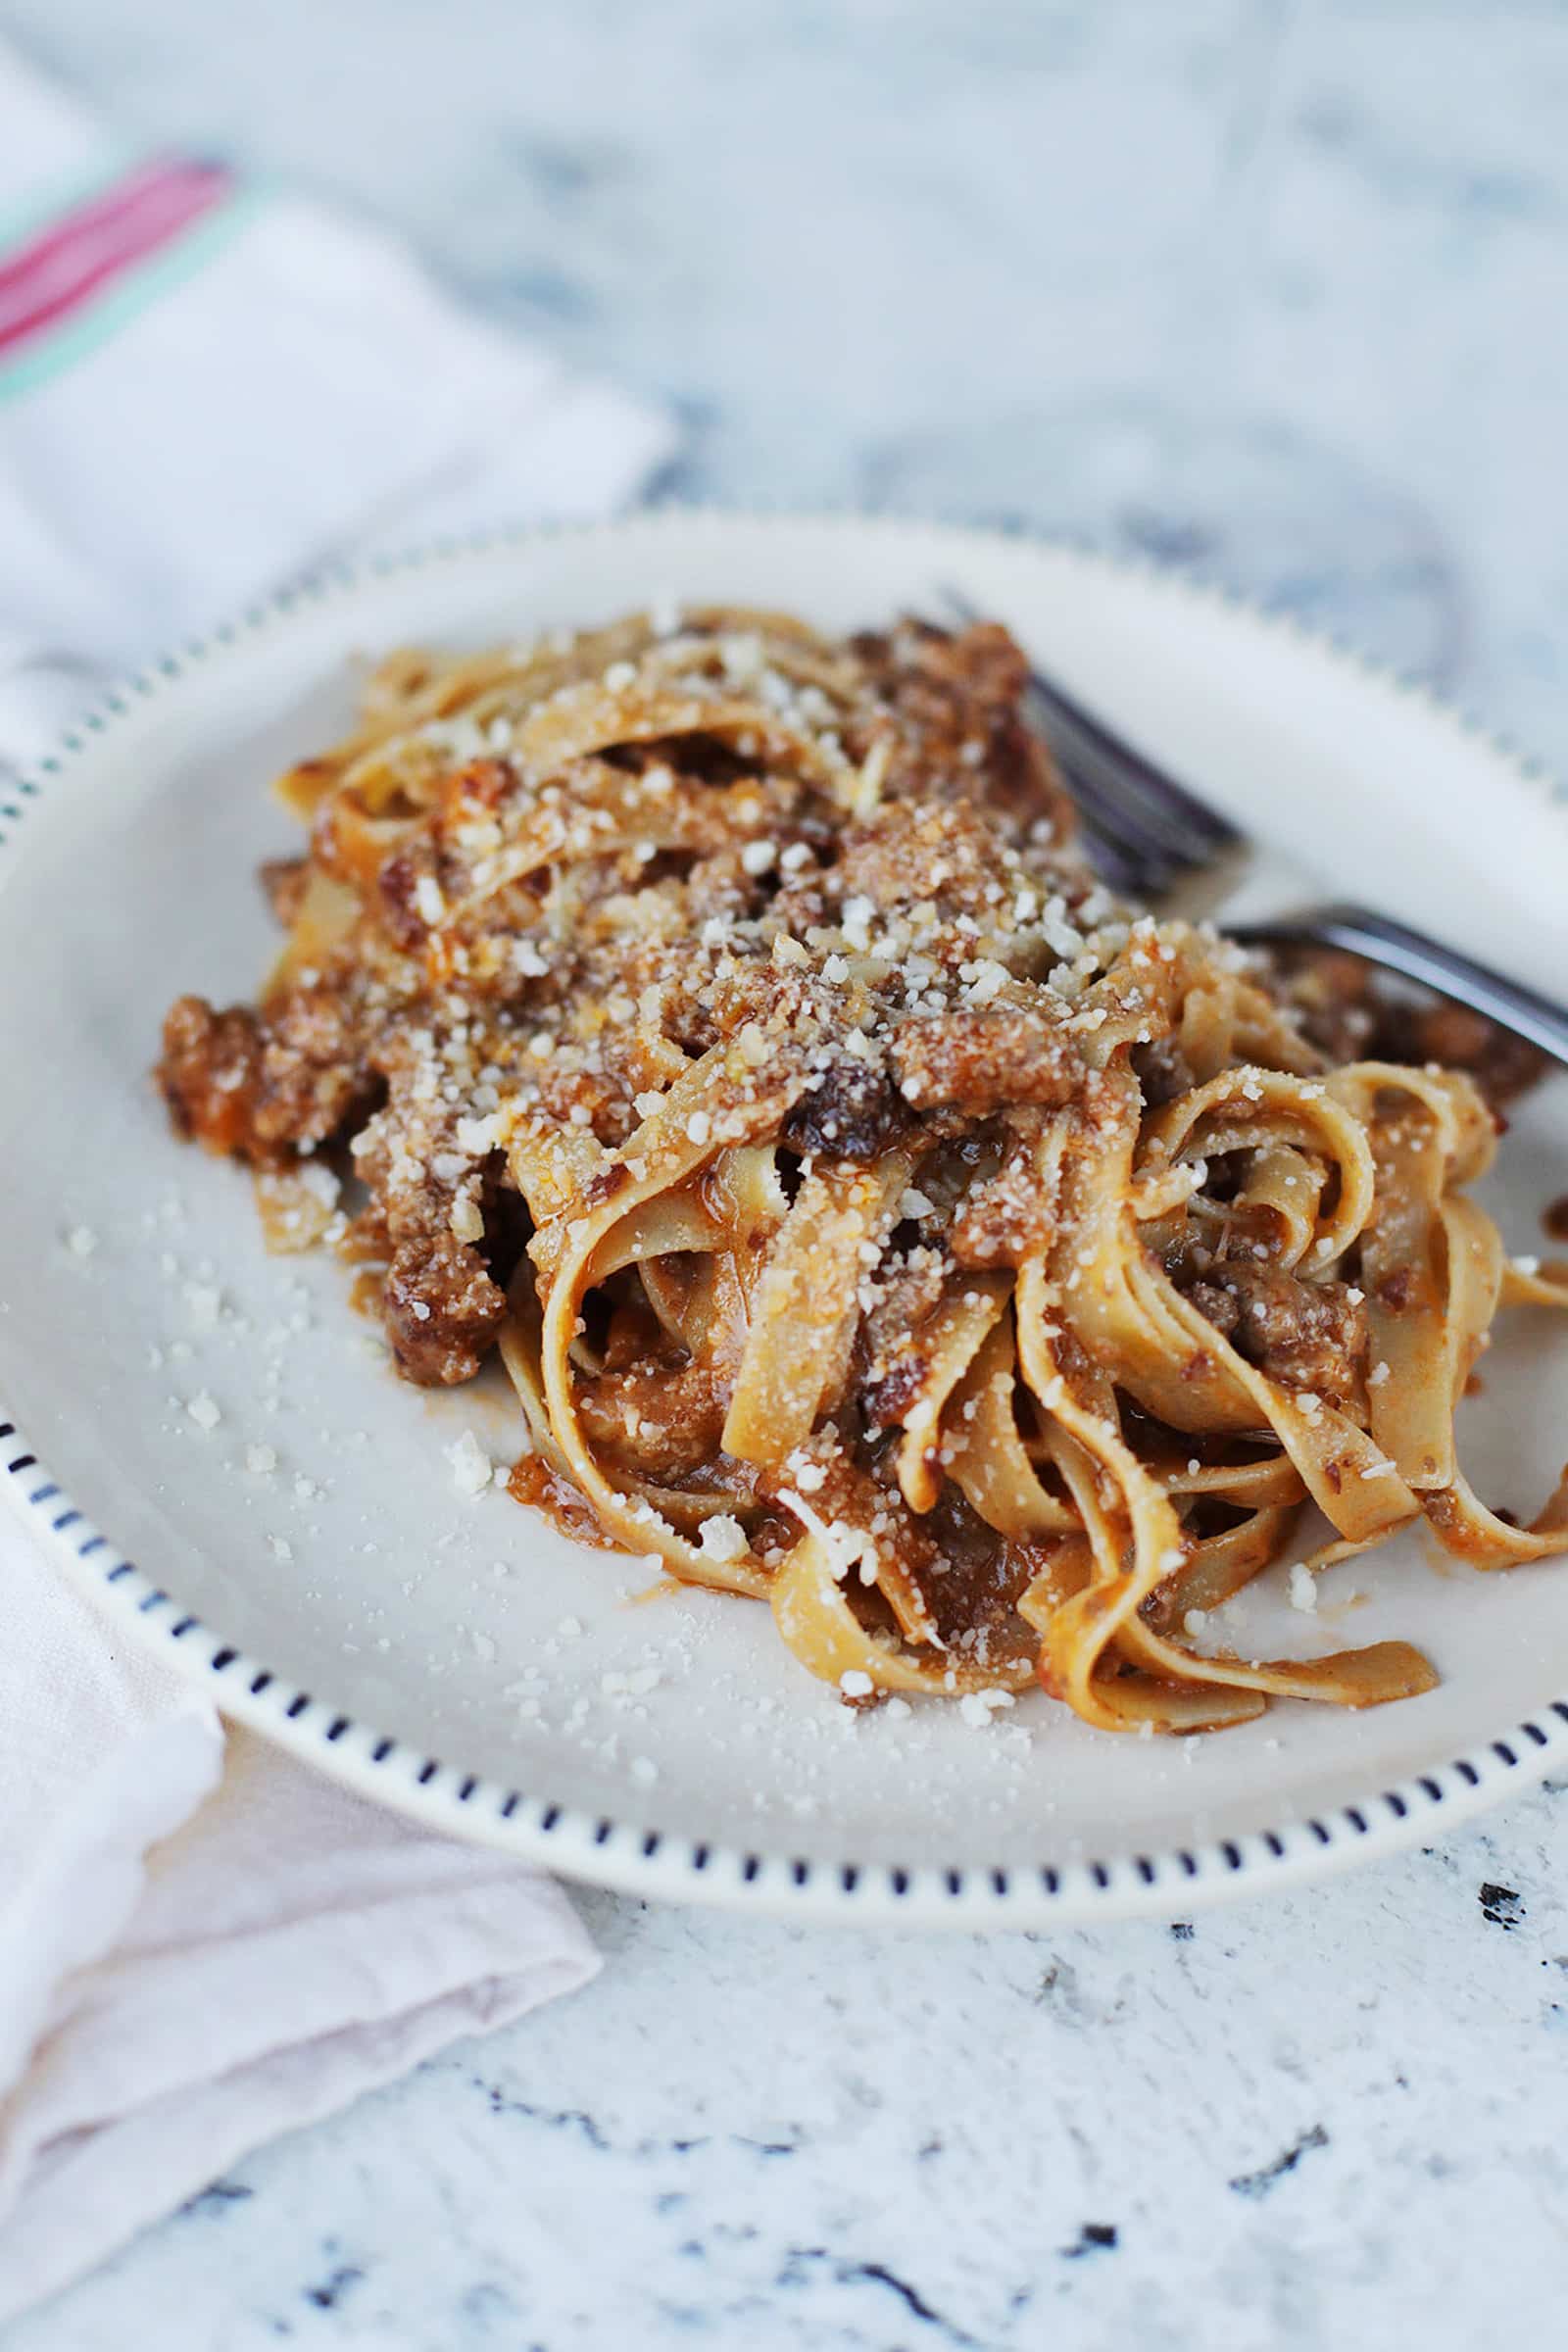
If you’ve been to Bologna then you know — there are few pasta dishes as delicious as authentic Lasagne alla Bolognese.
We’re talking the classic lasagna that’s also known as Lasagne Verde that hails from the city of Bologna that’s layers and layers of fresh homemade spinach pasta, a real deal ragù alla bolognese sauce, a béchamel sauce, and loads of grated Parmigiano-Reggiano cheese.
Though it is indeed a lasagna, it’s very different from the Italian-American lasagna recipes. As in this is not a quick lasagna bolognese and the classic recipe doesn’t have ricotta and mozzarella.
What it does have is an impossibly light combination of flavors. And, though it takes a lot of time to make, it can be make well ahead of time and is always a crowd pleaser. Here are our lasagna making cooking tips to make sure you have success every single time.
First Make The Bolognese Sauce Right
Give Yourself Plenty Of Time
This lasagna is not a dish that should be rushed — the flavor comes from the slow, long simmered sauce so give yourself ample time. Between active kitchen work, the cooking, and resting time, you’ll want to budget about 8 hours from when you start to when you serve it.
As such this is a great weekend cooking project. You can make over the course of one day, or, even over two days by making all the components one day (i.e. the fresh pasta, ragù, and béchamel) and then assembling and cooking it the next.
Of course, you don’t have to make every element from scratch every single time but we encourage you to make the whole recipe all the way through at least once.

Use The Food Processor To Finely Chop The Vegetables
Ideally the mirepoix (i.e. onions, celery, and carrot) is super small so it almost melts into the sauce. A great way to do this is to put large (say, 1/2 to 1-inch) chunks of all the vegetables into the food processor and pulse until they’re evenly broken down. Just be sure that you stop the machine before it makes it a paste!
Skip The Herbs And Garlic
A proper ragu alla bolognese doesn’t have herbs, garlic, or spices or many other flavorings. The key to its incredible flavor is quality ingredients cooked properly. If you want to add in any of that, go right ahead — anything from a bay leaf to a cinnamon stick to roasted garlic adds a lot of flavor — but just know that it’s not really traditional.
Brown The Pancetta And Prosciutto Really Well
Speaking of, you want to get as much flavor as possible out of the pancetta and prosciutto. Do this by cooking it until the fat is cooked off and it’s evenly golden brown. In other words you shouldn’t see any white fat on the chopped up pancetta and prosciutto and the color of the meat should be like that of well done bacon.
Sweat The Vegetables Longer Than You Think
Next you’ll want to add the mirepoix to the pan and cook it low and slow until it’s translucent and soft but not browned. From this point on you’re not trying to brown anything (not even the ground meat when it’s added!) but rather cook everything slowly and evenly so it develops flavor. We’d suggest you sweat the vegetables for about 10 minutes or until the onions are translucent and sweet.
Use A Heavy-Bottomed Pot
If you have a Dutch oven pot, pull it out to make the ragu. You want something large that will hold heat evenly through all those hours of cooking.
You’ll see lots of recipes that put the ragu in a slow cooker and you can totally do that! However, the slow cooker never seems to get the same depth of flavor as you get by cooking it on the stovetop because it is a wetter form of cooking meaning there is more liquid (and thus more dilution in flavor) in the final dish.
Add The Dairy To The Ragu Bit By Bit
The addition of the dairy at the end of cooking the ragu is a key step that separates ragu alla bolognese from other ragus. Add the dairy in during the last 30 minutes or so of cooking so it has time to meld but doesn’t totally break down. Stir it in about 1/4 cup portions and let it cook a few minutes before adding the next bit. This one ingredient coats all the meat and almost emulsifies the sauce to help bring the flavors together and make hte sauce extra silky.

Then Assemble The Lasagna Well
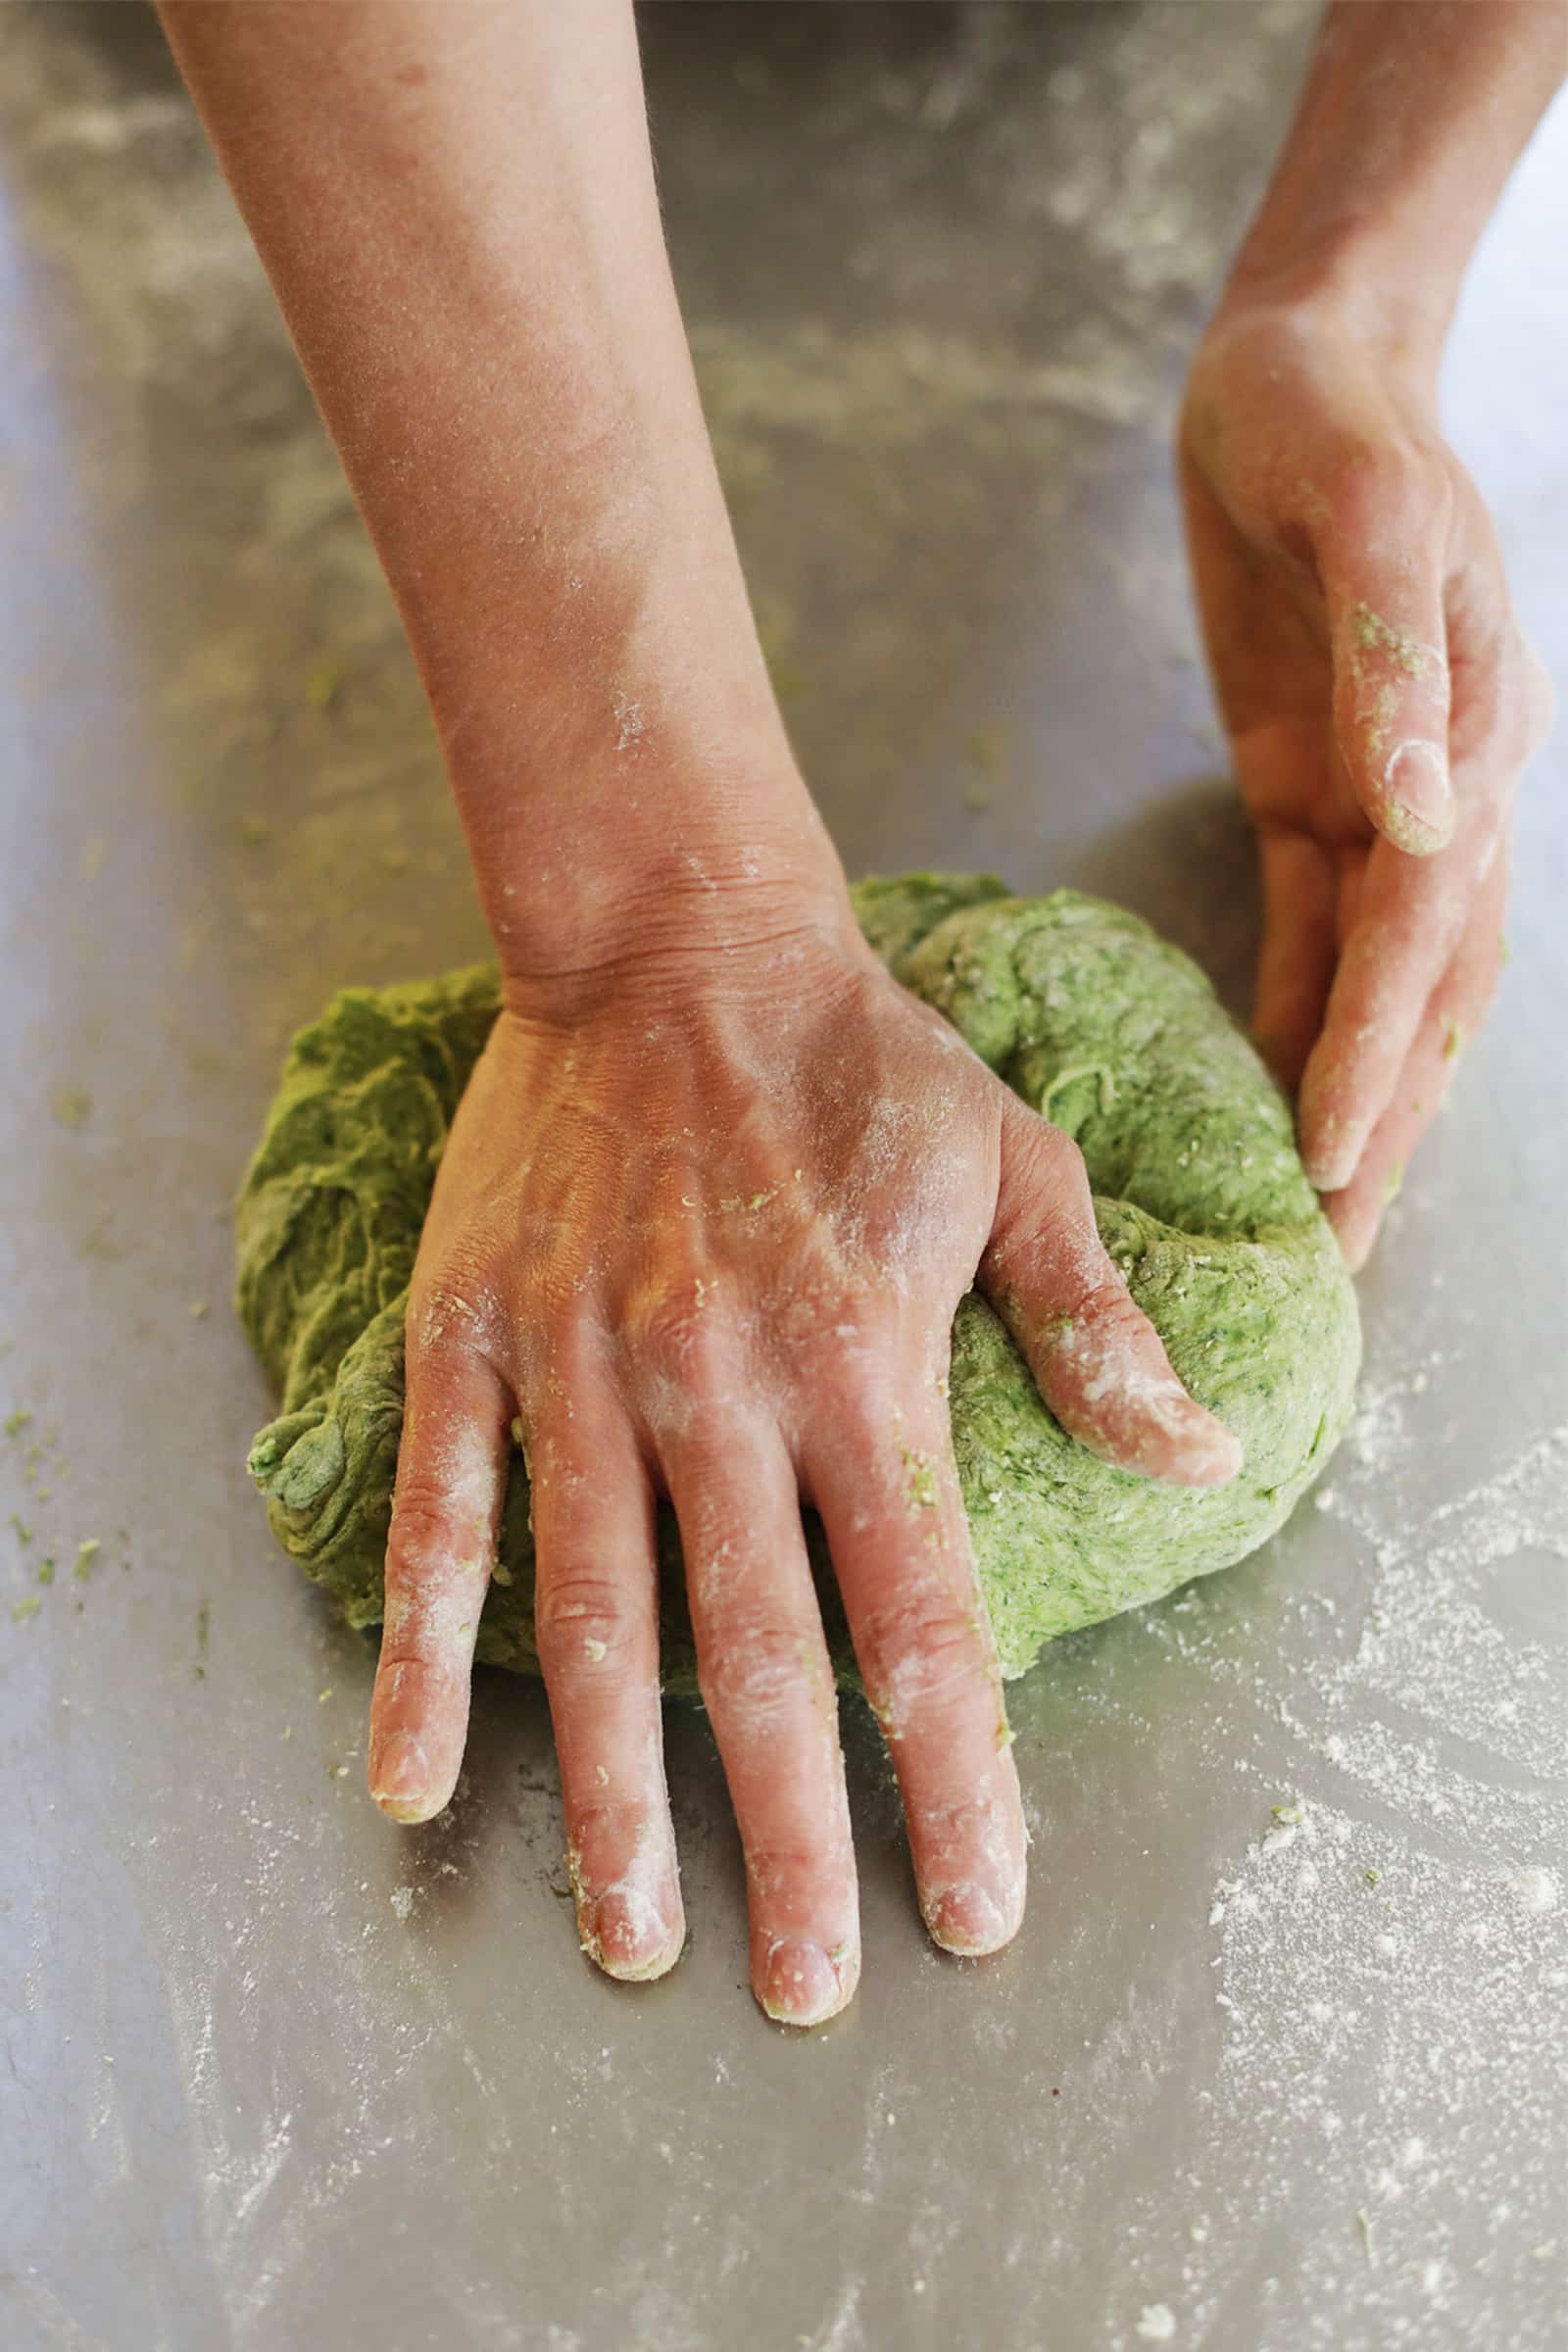
Make The Homemade Lasagna Sheets
Yes, it’s a lot to make fresh pasta but we encourage you to try it at least once especially because you can make them up to one day ahead of time. The spinach lasagna sheets called for in the recipe are a bit more delicate than our Egg Based Pasta Recipe so you may want to roll them a little thicker (say to setting 6 on the KitchenAid) than for noodles.
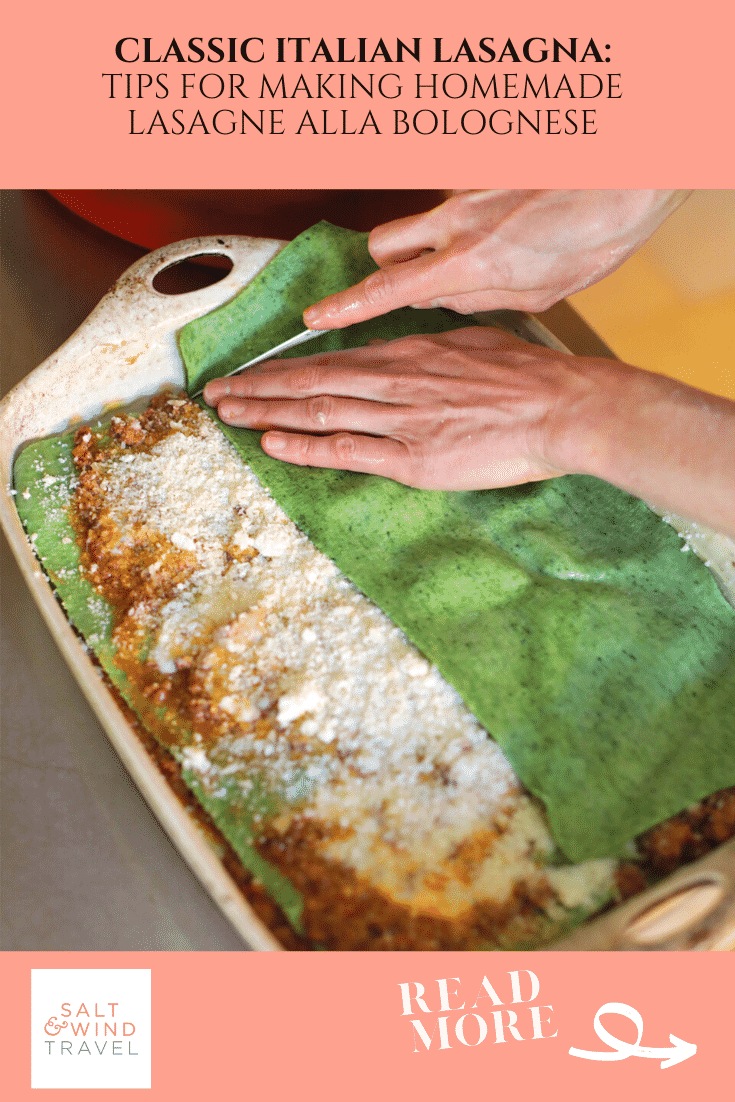
Don’t Overstuff The Layers
We have a tendency to think more is better when it comes to lasagna but that’s not the case here. Follow our guidelines in the recipes and add just a touch of each ingredient to each layer. The result is an impossibly light lasagna that’s a perfect mix of pasta, ragu, and cheese.
Use The Right Size Baking Dish
To bake the lasagna, you’ll want a pan that is 3 inches in depth and that is a heavy duty material — stoneware, glass, metal — that can go from the oven to the table.
We opt for a traditional lasagna pan, which is usually around 14 ½ to 15-inch x 9 to 10-inch x 3-inch like this baking pan from Crate & Barrel. If you don’t have a pan that size, you can use a standard 13-inch x 9-inch baking dish but just know you will not quite fit all the ingredients in the pan and you’ll have a touch leftover.
Let It Rest Before Serving
Once the lasagna is done baking be sure to let it rest 15 to 30 minutes before serving it. That will make it easier to cut and serve.
Make It Ahead
If you have the time, you can make any or all of the recipe ahead of time. The pasta can rest as a dough ball up to two days, it can be rolled into lasagna sheets and cooked up to one day ahead, and the ragu actually gets better the longer it sits so make it up to three days ahead.
In fact, you can even freeze the assembled unbaked lasagna or bake the lasagna all the way through and then freeze it to serve it up to one month later.
See The Recipe Made Step By Step
Heads up that we made the full lasagna recipe during our Cooking Club Lasagna Bolognese Workshop. So, if you want to see it made step by step — and get a glimpse of the menu we’d pair with it — go ahead and check out the recording of the workshop.
PIN IT FOR LATER!
Want to cook this recipe at a later date? Pin it to your Pinterest account so you can access it when you need some cooking inspiration!
Okay, now it’s time to stock up your panty with all the Italian essential ingredients, then try your hand at making this and then share your creation with us by tagging @saltandwind and #swsociety on social!

Connect With Salt & Wind Travel
- Explore The Salt & Wind Travel Services
- Join Our Virtual Cooking Club
- Shop Our Store For Cooking And Travel Inspo
- Have Us Craft You A Custom Travel Itinerary
- Get Our Digital Travel Guides For Food Lovers
- Sign Up For Our Newsletter
More Italy On Salt & Wind Travel
- Pignoletto Is The Next Wine To Try When You Travel To Italy
- Prosecco To Lambrusco: All About Italian Sparkling Wine
- How To Avoid A Bad Restaurant In Italy